Bepaalde salades zijn klassiekers op een BBQ-dinner. De gerookte aardappelsalade is er zo eentje. Het leuke aan dit recept is dat je deze aardappelsalade zowel lauw als koud kan eten. En dat je het kan maken terwijl je toch je vlees rookt. Dit gerecht komt uit het boek van Steven Raichlen, die een fenomeen is in de BBQ wereld. Zelf heeft hij al tal van boeken geschreven, zijn site Barbecuebible moet je zeker eens bezoeken. Het staat bol van leuke recepten die toegankelijk zijn.
Het recept uit zijn boek Rook! resulteert in een vrij natte dressing. En persoonlijk heb ik niet graag zo’n “natte” dressing waarin de aardappelen zwemmen. Daarom rondde ik de hoeveelheden naar beneden af. Maar uiteraard speelt persoonlijke smaak hier rol.
Met vooral geduld om de aardappelen te roken, reken op 1,5 tot 2 uur, moet je anders niet veel moeite stoppen in deze gerookte aardappelsalade.
Heb je liever geen gerookte aardappelsalade maar wel warme (gevulde) aardappelen op de BBQ dan kan één van deze gerechten je misschien wel bekoren: aardappelbom, vulcano potatoe (een van mijn favorieten), aardappelen in zoutkorst (een van mijn favorieten), smashed potatoes, gestoofde aardappelen met gesmolten kaas, hasselback potatoes, baked potatoes of aardappelen met spek? Keuze genoeg dus uit aardappelgerechten.
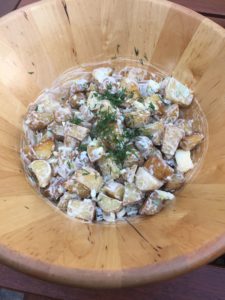
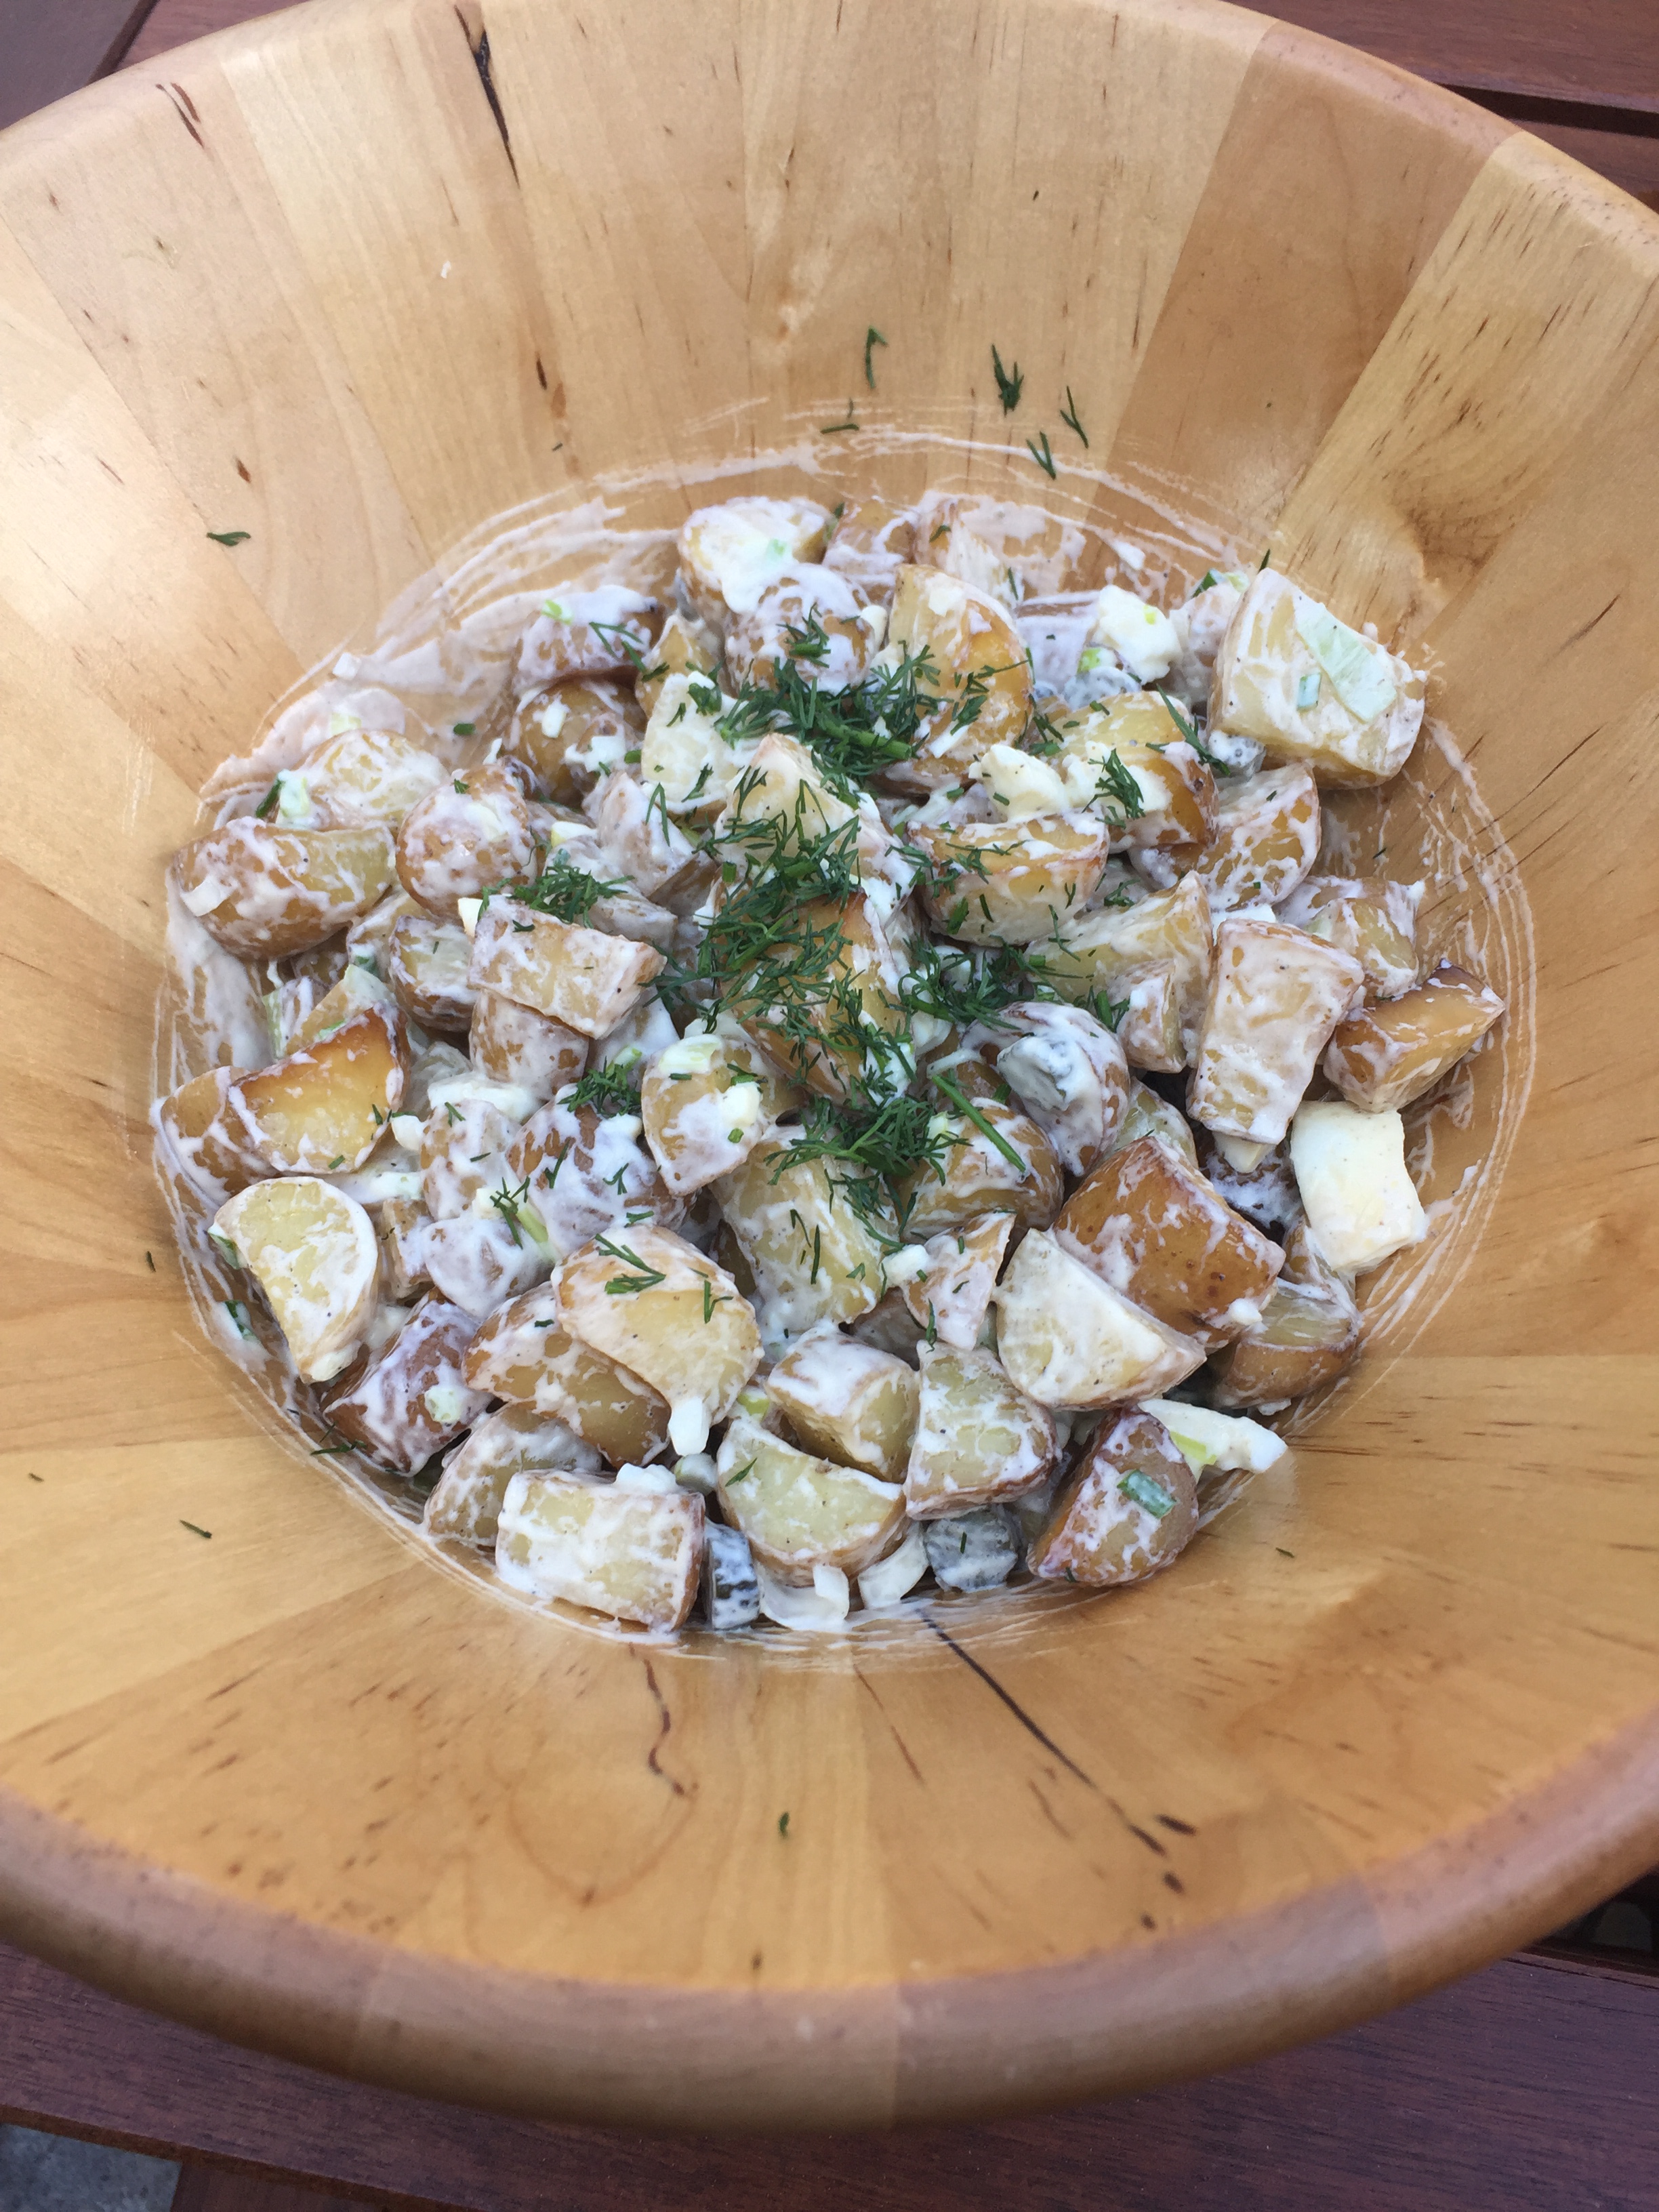
Gerookte Aardappelsalade
Equipment
- BBQ
- aluminiumschaal
Ingrediënten
- 800 gram vastkokende aardappelen
- 2 eetlepels olijfolie
- snuifje grof zout
- 1 eetlepel mayonaise
- 1 eetlepel zure room
- 1 theelepel mosterd
- 1 eetlepel rodewijnazijn
- 2 eieren hardgekookt
- 2 eetlepels verse dille gehakt
- 2 lente-uitjes
- 2 eetlepels verse bieslook gehakt
- snuifje gerookte paprikapoeder
- rookchips
Instructies
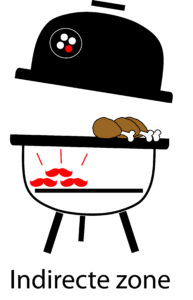
- Maak de BBQ klaar om indirect te grillen op lage temperatuur tussen 140 – 160°C.
- Spoel de aardappelen schoon en snijd ze in de lengte door. Snijd ze daarna nog eens in 2 of 3, zodat je stukken van 2,5 cm groot krijgt.
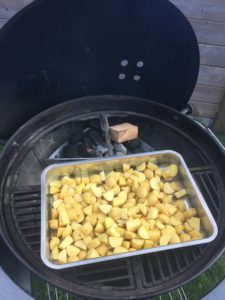
- Doe de aardappelen in een aluminiumbakje en overgiet ze met de olijfolie, peper en zout en meng ze goed.
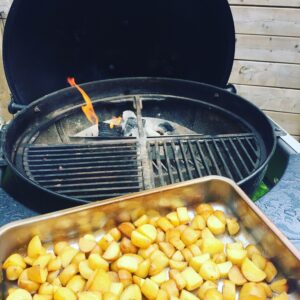
- Leg de aluminiumschaal met de aardappelen op de BBQ en gooi de rookchips op de kolen. Rook zo de aardappelen 1 tot 1,5 uur of tot de aardappelen gaar zijn. Schep een paar keer door de aardappelen heen zodat ze allemaal gelijkmatig bruin worden.
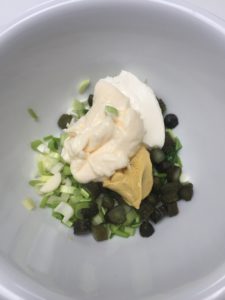
- Bereid ondertussen de dressing: Meng de mayonaise, zure room, mosterd en azijn in een grote kom door elkaar. Klop het ei, de bieslook, lente-ui, augurkjes eronder en zet in de koelkast tot de aardappelen gaar zijn.
- Haal de aardappelen van de BBQ en laat ze lichtjes afkoelen. Zorg ervoor dat ze wel nog lauw blijven.
- Schep de lauwe aardappelen door de dressing heen en breng eventueel nog op smaak met peper en zout en werk af met dille. Je kan de salade lauw of gekoeld serveren.
- Smakelijk!